Crocheting a hat is a delightful and rewarding project, especially for beginners. Now, I’ll walk you through the process of creating a simple and cozy crochet hat using basic stitches and techniques. By the end, you’ll have a handmade accessory to keep you warm or to gift to someone special.
Materials Needed
Yarn:
Choose a bulky weight yarn (#5) for a warm and quick-to-make hat. Acrylic or wool blends are excellent choices for their softness and durability.
Crochet Hook:
A size L/11 (8 mm) hook pairs well with bulky yarn, ensuring your stitches are even and the fabric is not too tight.
Tapestry Needle:
Useful for weaving in ends and sewing parts together.
Scissors:
For cutting yarn.
If you want to explore some events like their history, importance and anything else visit us or see or recent guide on How did Valentine’s Day Start.
If you are interested in personal care and health, you should see this one: How to Clear My Sinuses.
Step-by-Step Instructions
1. Create a Foundation Chain
Begin by making a slip knot and chaining 37 stitches. This chain will determine the height of your hat, including the folded brim. If you prefer a shorter or longer hat, adjust the number of chains accordingly.
2. Work the First Row
In the third chain from the hook, make a half double crochet (hdc). Continue to hdc in each chain across the row. At the end of this row, you should have 35 stitches.
3. Form the Ribbed Pattern
Chain 2 (this does not count as a stitch), turn your work, and hdc in the back loop only (BLO) of each stitch across the row.
Working in the BLO creates the ribbed texture, giving the hat its stretchy and knit-like appearance. Repeat this step for a total of 30 rows or until the piece measures approximately 20 inches in length.
4. Seam the Edges
Fold your rectangle in half, bringing the first row to meet the last row. Slip stitch through both layers to join the edges, forming a tube. Ensure your stitches are loose enough to maintain the fabric’s stretchiness.
5. Gather the Top
Thread a long piece of yarn onto your tapestry needle and weave it through the stitches along one open end of the tube. Pull tight to gather the top of the hat, closing the opening securely. Tie a knot and weave in any remaining ends.
6. Add the Brim
Fold up the bottom edge of the hat to create a brim of your desired width. This not only adds style but also provides extra warmth around the ears.
If you are interested in personal development, you must read our recent article How to Break Bad Habits.
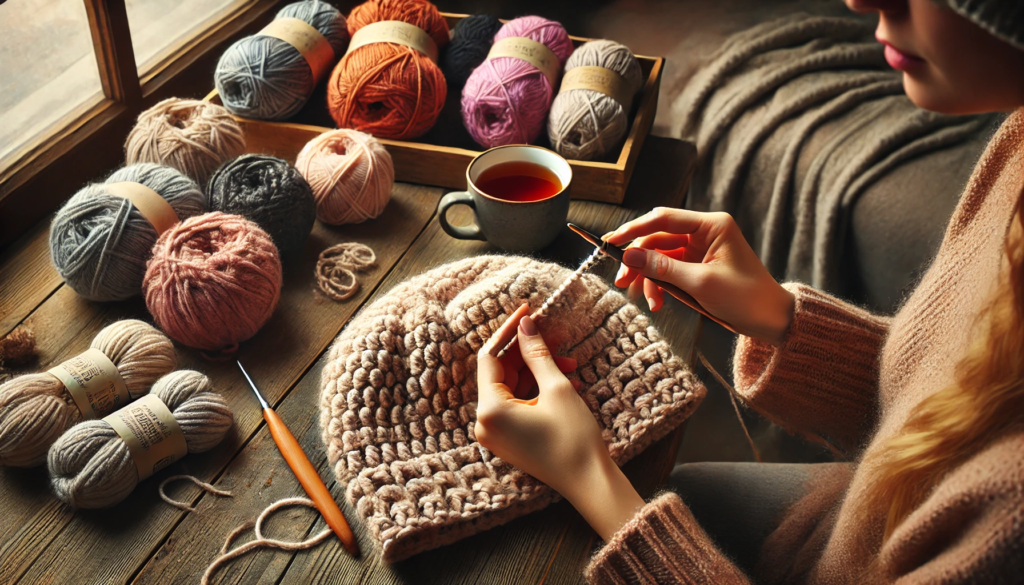
Visual Guide
Tips for Success
Yarn Selection:
Opt for a soft, bulky yarn to ensure your hat is both warm and comfortable. Acrylic yarns are often recommended for beginners due to their ease of use and care.
Gauge Check:
Before starting, crochet a small swatch to ensure your gauge matches the pattern. This helps in achieving the correct hat size.
Customization:
Feel free to adjust the number of chains and rows to fit different head sizes. Adding embellishments like pom-poms or buttons can personalize your creation.
Looking for more crochet projects? Visit us for another fun and easy pattern!
Conclusion
Crocheting a hat is a fulfilling project that combines creativity with functionality. By following this guide, you’ve learned how to crochet a hat that’s both stylish and warm. Remember, practice makes perfect, so don’t be discouraged if your first attempt isn’t flawless. With each hat you make, your skills will improve, and soon you’ll be creating hats for friends and family.